Building Vue 3 API Call Using Axios,Vuetify, Pinia, JWT Auth

Let’s we build Vue App that call API backend, along with JWT authentication Pinia for state management and Vuetify for mobile responsiveness.
If you’re building a modern Vue 3 frontend and want to add a clean login page with Vuetify and manage the authentication state using Pinia, this article is for you. We’ll walk through a simple login form that call API and send credentials to a Go backend, receives a JWT token, and handles user session state globally using Pinia.
What You’ll Learn here..
How to integrate Vuetify 3 UI components
How to manage global login state with Pinia
How to store JWT tokens and use them across components
Full working project structure and code examples
Tech Stack
Vue 3 (Composition API)
Vuetify 3
Pinia (state management)
Axios (HTTP client)
Go (backend API endpoint, already working)
Project Structure
my-vuetify-login/
├── src/
│   ├── components/
│   │   └── LoginForm.vue
│   ├── views/
│   │   └── LoginView.vue
│   ├── stores/
│   │   └── auth.js
│   ├── router/
│   │   └── index.js
│   ├── plugins/
│   │   └── vuetify.js
│   ├── App.vue
│   ├── main.js
Step-by-Step Setup
1. Set Up Vue + Vuetify + Pinia
npm init vue@latest my-vuetify-login
# ✔ Add Vue Router? → Yes
# ✔ Add Pinia? → Yes
# ✔ Add ESLint/Prettier? → Yes (optional)

cd my-vuetify-login
npm install
npm install vuetify@next
npm install
Installs all dependencies listed in package.json, such as Vue, Pinia, Vuetify, and development tools. Creates the node_modules and package-lock.json files.
npm run format
Runs the formatting script (usually using Prettier) to standardize code style across the project.
Add Vuetify Plugin
src/plugins/vuetify.js:
import 'vuetify/styles'
import { createVuetify } from 'vuetify'
import * as components from 'vuetify/components'
import * as directives from 'vuetify/directives'

export default createVuetify({
  components,
  directives,
})
2. main.js— Register Vuetify, Router, and Pinia
import { createApp } from 'vue'
import App from './App.vue'
import router from './router'
import { createPinia } from 'pinia'
import vuetify from './plugins/vuetify'

const app = createApp(App)
app.use(createPinia())
app.use(router)
app.use(vuetify)
app.mount('#app')
3.stores/auth.js— Pinia Store
import { defineStore } from 'pinia'
import axios from 'axios'

export const useAuthStore = defineStore('auth', {
  // src/stores/auth.js
  state: () => ({
    token: localStorage.getItem('token') || '',
    user: null, // <--- Tambahkan ini
    error: '',
    loading: false,
  }),

  getters: {
    isAuthenticated: (state) => !!state.token,
  },

  actions: {
    async login(username, password) {
      this.loading = true
      this.error = ''

      try {
        const res = await axios.post(
          'http://localhost:8080/login',
          { username, password },
          {
            headers: {
              'Content-Type': 'application/json',
            },
          },
        )

        this.token = res.data.token
        this.user = res.data.user || { name: 'User' } // Adjust based on actual API response
        localStorage.setItem('token', this.token)

        // Optionally store user info if needed across refresh
        localStorage.setItem('user', JSON.stringify(this.user))
      } catch (err) {
        this.error = err.response?.data?.error || err.message || 'Login failed'
      } finally {
        this.loading = false
      }
    },

    logout() {
      this.token = ''
      localStorage.removeItem('token')
    },
  },
})
for the backend code you can develop by follow this article..
…
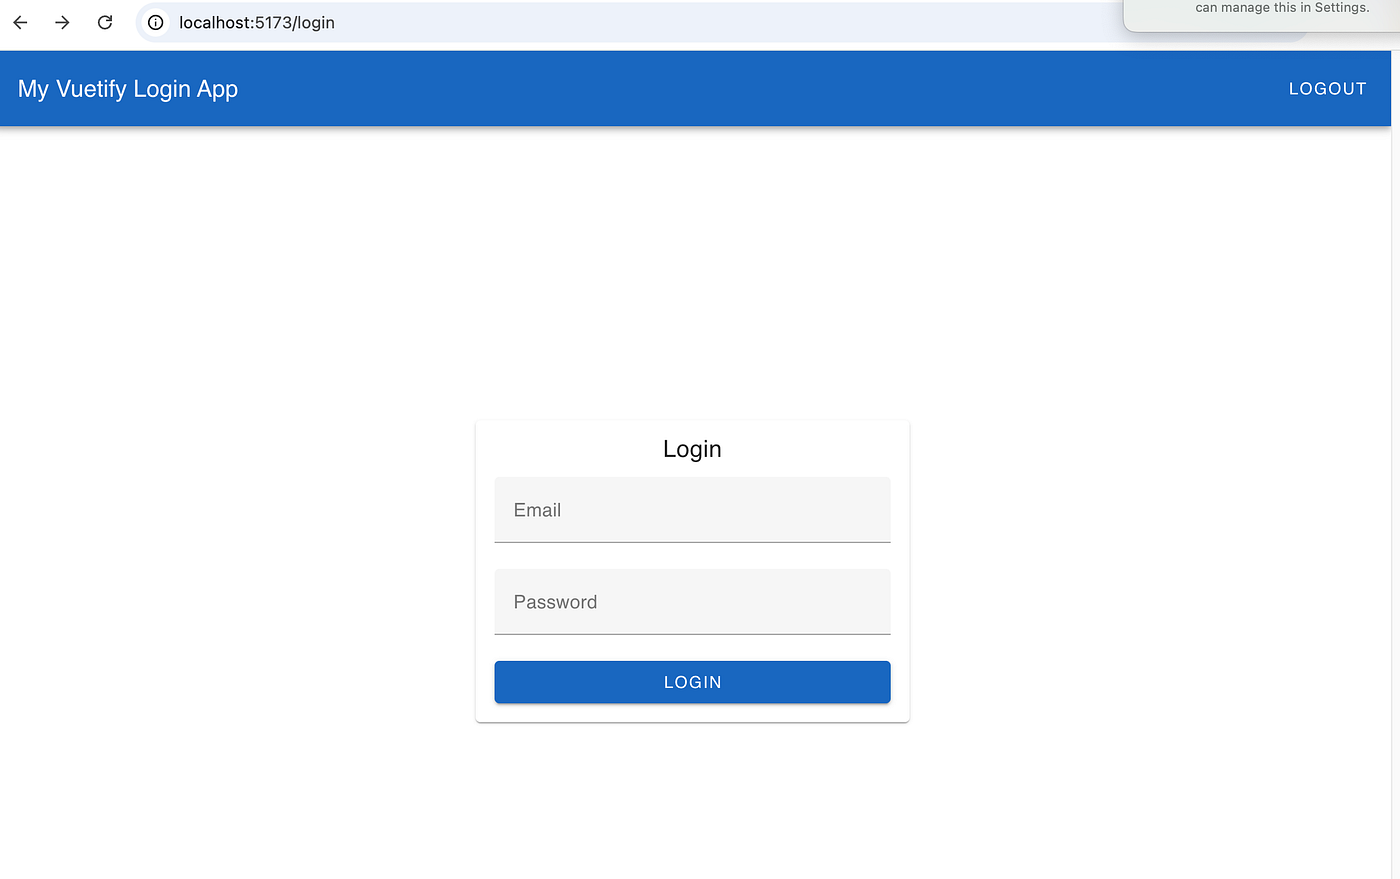
4.components/LoginForm.vue— Vuetify Login UI
<template>
  <v-card>
    <v-card-title class="text-center">Login</v-card-title>
    <v-card-text>
      <v-form @submit.prevent="onSubmit" ref="formRef" v-model="valid">
        <v-text-field v-model="email" label="Email" :rules="emailRules" />
        <v-text-field v-model="password" label="Password" type="password" :rules="passwordRules" />
        <v-btn type="submit" color="primary" block :loading="auth.loading">Login</v-btn>
        <v-alert v-if="auth.error" type="error" class="mt-3">{{ auth.error }}</v-alert>
      </v-form>
    </v-card-text>
  </v-card>
</template>

<script setup>
import { ref } from 'vue'
import { useAuthStore } from '@/stores/auth'
import { useRouter } from 'vue-router'

const email = ref('')
const password = ref('')
const valid = ref(false)
const formRef = ref(null)

const emailRules = [(v) => !!v || 'Email is required']
const passwordRules = [(v) => !!v || 'Password is required']

const auth = useAuthStore()
const router = useRouter()

const onSubmit = async () => {
  if (!formRef.value.validate()) return
  await auth.login(email.value, password.value)
  if (auth.isAuthenticated) {
    router.push('/')
  }
}
</script>
5.LoginView— Wrap Login in Page Layout
src/views/LoginView.vue
<template>
  <v-container class="fill-height" fluid>
    <v-row align="center" justify="center">
      <v-col cols="12" sm="8" md="4">
        <LoginForm />
      </v-col>
    </v-row>
  </v-container>
</template>

<script setup>
import LoginForm from '@/components/LoginForm.vue'
</script>
6.Home Page (After Login)
src/views/HomeView.vue
<template>
  <v-container class="mt-10">
    <v-card>
      <v-card-title> Welcome, {{ userName }} </v-card-title>
      <v-card-text>
        You have successfully logged in. This is your dashboard or homepage.
      </v-card-text>
    </v-card>
  </v-container>
</template>

<script setup>
import { useAuthStore } from '@/stores/auth'
import { computed } from 'vue'

const auth = useAuthStore()

const userName = computed(() => {
  return auth.user?.name || 'User'
})
</script>
7. App Layout
src/App.vue
<template>
  <v-app>
    <v-app-bar app color="primary" dark>
      <v-app-bar-title>My Vuetify Login App</v-app-bar-title>
      <v-spacer></v-spacer>
      <v-btn v-if="isAuthenticated" @click="logout" text>Logout</v-btn>
    </v-app-bar>
    <v-main>
      <router-view />
    </v-main>
  </v-app>
</template>
<script setup>
import { useAuthStore } from '@/stores/auth'
const auth = useAuthStore()
const isAuthenticated = auth.isAuthenticated
const logout = () => {
  auth.logout()
  window.location.href = '/login'
}
</script>
8.Set Up Vue Router
src/router/index.js:
import { createRouter, createWebHistory } from 'vue-router'
import LoginView from '@/views/LoginView.vue'

const routes = [
  { path: '/login', component: LoginView },
  {
    path: '/',
    component: () => import('@/views/HomeView.vue'), // create dummy HomeView.vue
  },
]

export default createRouter({
  history: createWebHistory(),
  routes,
})
How to Run & Test It
1. Start the Go Backend
Make sure your Go backend is running and has an endpoint like:
POST http://localhost:8080/api/login
Content-Type: application/json

{
  "email": "admin",
  "password": "password"
}
Test the api backend first using curl from commandline
curl -X POST http://localhost:8080/login \
  -H "Content-Type: application/json" \
  -d '{"username":"admin", "password":"password"}'
It should respond with:
{ "token": "JWT-TOKEN-HERE" }
Example Go handler:
type LoginRequest struct {
  Email    string `json:"email"`
  Password string `json:"password"`
}

func LoginHandler(c *gin.Context) {
  var req LoginRequest
  if err := c.ShouldBindJSON(&req); err != nil {
    c.JSON(http.StatusBadRequest, gin.H{"error": "Invalid request"})
    return
  }
  if req.Email == "admin@example.com" && req.Password == "secret" {
    token := createJWT() // your JWT creation logic
    c.JSON(http.StatusOK, gin.H{"token": token})
  } else {
    c.JSON(http.StatusUnauthorized, gin.H{"error": "Invalid credentials"})
  }
}
2.Run Vue Frontend
npm run devOpen your browser: http://localhost:5173/login
Use admin@example.com / secret to log in.
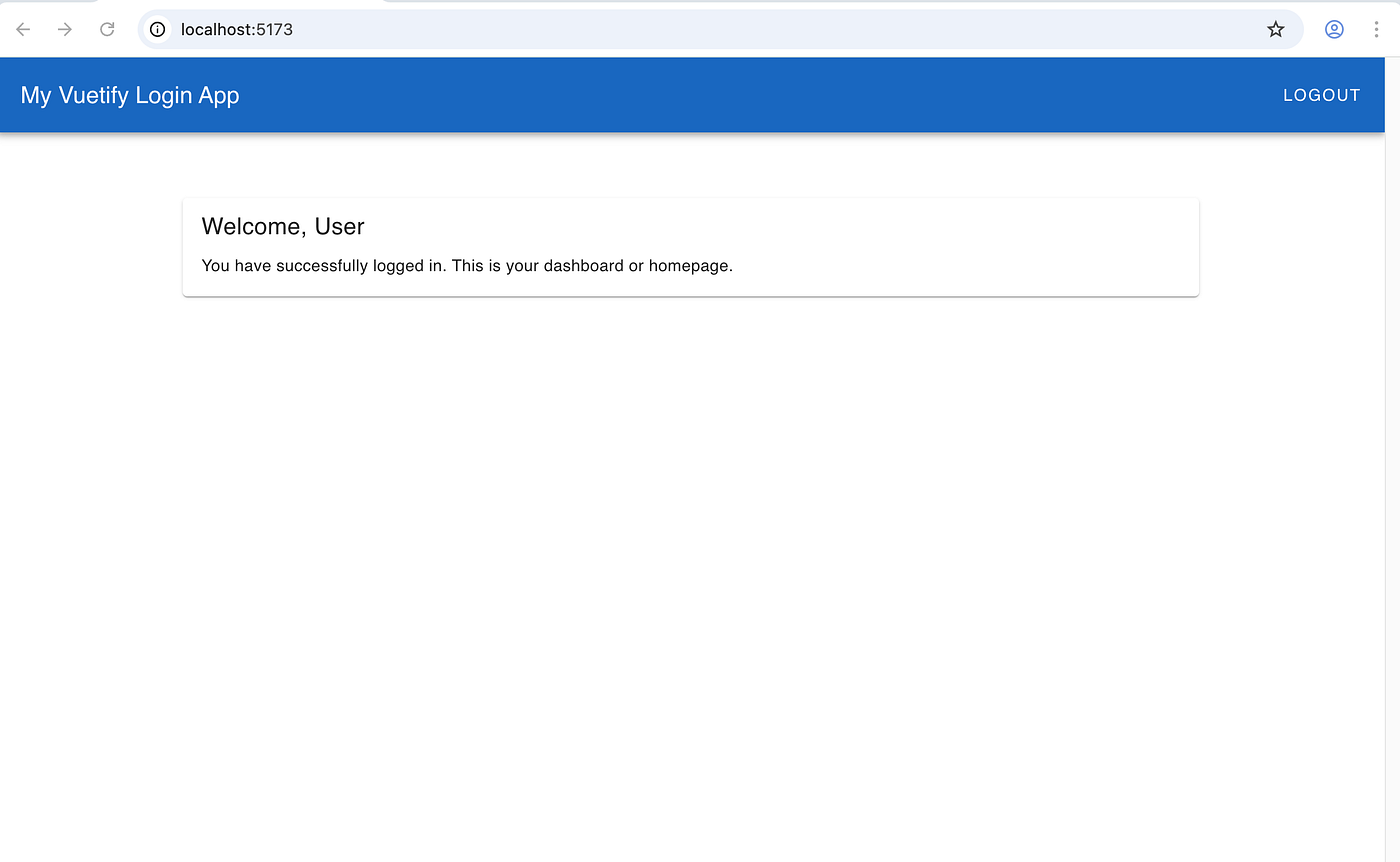
If successful, you will:
See the home page
Get JWT stored in localStorage
State managed via Pinia
After successful login.
Combining Vuetify’s beautiful UI with Pinia’s elegant state management gives you a scalable, modern authentication flow in Vue. This pattern works great for apps that use JWT and need centralized state control for login/logout.
Full Code can be retrieved here https://github.com/novrian6/vue-my-vuetify-login