Easy Guide to State Management with Pinia in Vue 3

Modern web apps are more dynamic than ever. They show real-time data, change based on user input, and share data across different parts of the app. To handle this kind of complexity smoothly, developers use something called state management.
In this guide, you’ll learn:
What is state and state management
Why you need a state management tool like Pinia
How to use Pinia in a simple Vue 3 app
With a fully working example you can try on your own


What is “State”?
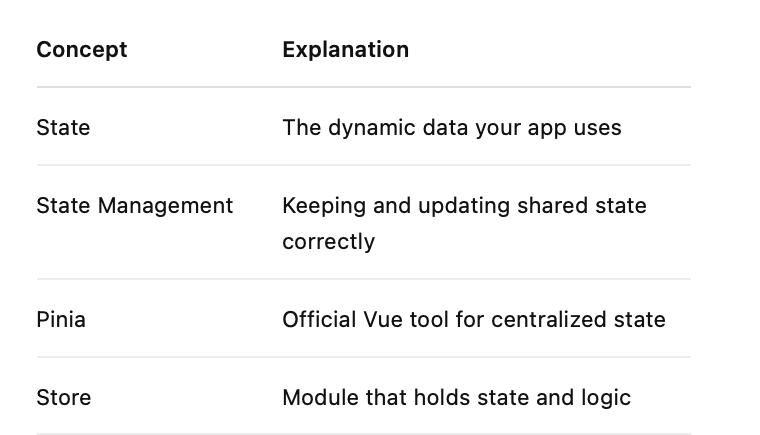
In frontend development, state refers to the data that determines how your app looks and behaves at any given time.
Here are examples of state:
The number shown on a counter
Whether a user is logged in or not
A list of items in a shopping cart
Which page or tab is currently selected
These values change over time, and when they do, the app’s UI updates accordingly.
What is State Management?
State management is about:
Keeping track of the data in your app
Making it easy to read and update that data
Keeping everything in sync between different parts of your app
Simple Example
Imagine you have a counter app:
let count = 0
function increment() {
  count++
}
This works fine when it’s simple. But what if:
You want to show the same count on multiple components
You want to update the count from different pages
You want the count to be saved even after refresh
Manually passing values using props or emitting events gets messy.
That’s when you need a state manager.
Why Use a State Management Tool?
Without a tool, sharing state between components looks like this:
Parent to Child: Pass via props
Child to Parent: Emit custom events
Between unrelated components: It gets complicated
With a state manager like Pinia, you get:
A centralized place to store all shared data
Any component can access or update the data
Everything stays in sync reactively
Cleaner, easier-to-read code
What is Pinia?
Pinia is the official state management library for Vue 3 (and Vue 2 with some config).
It replaces the older Vuex with:
Smaller size
Simpler syntax
Better performance
Full DevTools support
TypeScript-friendly by design
Project Structure with Pinia
Here’s how your project might look:
my-pinia-app/
├── public/
├── src/
│   ├── assets/
│   ├── components/
│   ├── stores/
│   │   └── counter.js       <-- Pinia store
│   ├── App.vue              <-- Main component
│   ├── main.js              <-- App setup with Pinia
│   └── ...
├── index.html
├── package.json
└── vite.config.js
Getting Started with Pinia
Let’s build a simple counter app using Vue 3 and Pinia.
1. Setup Project
Create a new Vue app using Vite:
npm create vite@latest my-pinia-app --template vue
cd my-pinia-app
npm install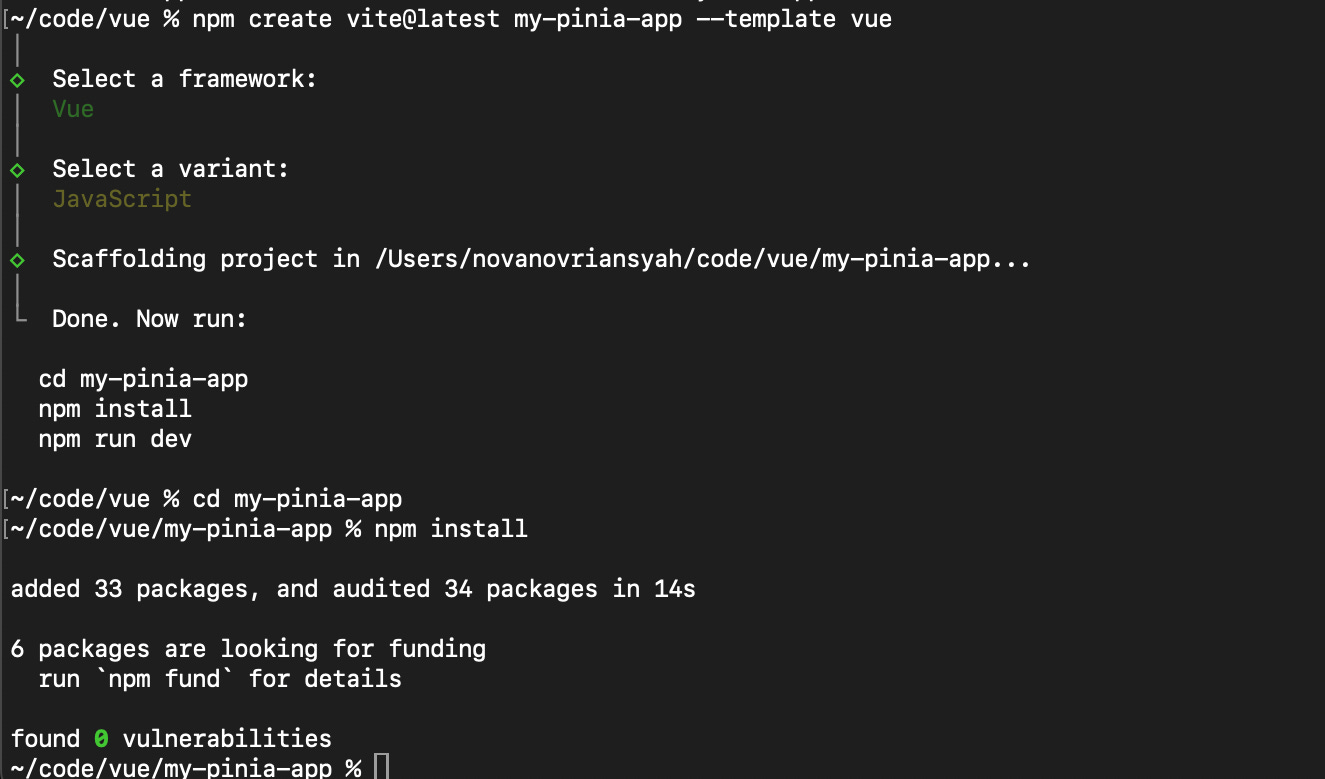
Install Pinia:
npm install pinia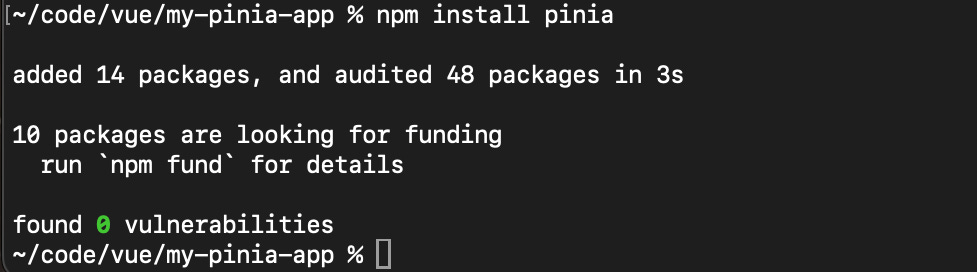
Set up Pinia in main.js:
// src/main.js
import { createApp } from 'vue'
import App from './App.vue'
import { createPinia } from 'pinia'

const app = createApp(App)
app.use(createPinia())
app.mount('#app')
2. Create a Store
In Pinia, a store is a centralized place to hold and manage the state, logic, and actions for a specific part of your Vue application.
Without a store, sharing data between unrelated components requires props and events, which becomes messy as your app grows.
With a store:
You define state once
Any component can access or modify it
All updates are reactive and tracked automatically
Make a file src/stores/counter.js:
// src/stores/counter.js
import { defineStore } from 'pinia'
export const useCounterStore = defineStore('counter', {
  state: () => ({
    count: 0
  }),
  actions: {
    increment() {
      this.count++
    },
    decrement() {
      this.count--
    }
  }
})
defineStore: creates a named store
state: the data you manage
actions: methods to update that data
3. Use the Store in a Component
Update App.vue:
<template>
<div class="app">
<h1>Pinia Counter App</h1>
<p>Count: {{ counter.count }}</p>
<button @click="counter.increment">+</button>
<button @click="counter.decrement">-</button>
</div>
</template>
<script setup>
import { useCounterStore } from './stores/counter'
const counter = useCounterStore()
</script>
<style>
.app {
text-align: center;
font-family: sans-serif;
padding: 2rem;
}
button {
margin: 0.5rem;
padding: 0.5rem 1rem;
}
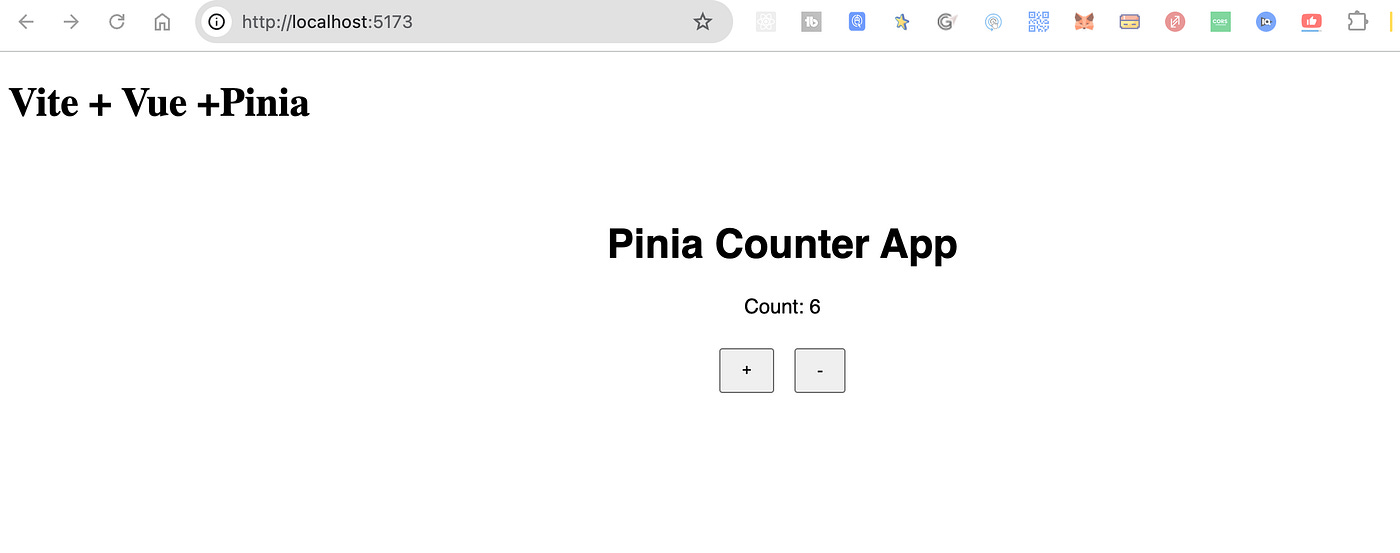
</style>Run the App
Once everything is set up, you can run the Vue + Pinia app:
npm run dev
Open your browser and visit
http://localhost:5173
(or whatever port Vite uses). You should see your Pinia-powered counter app.
📘 What is a Store in Pinia?
In Pinia, a store is a self-contained module that:
Holds state (data)
Contains actions (functions to update state)
Can have getters (computed values based on state
Each store is created using defineStore(). Example:
export const useCounterStore = defineStore('counter', {
  state: () => ({ count: 0 }),
  actions: {
    increment() {
      this.count++
    }
  }
})
How It Works
useCounterStore() gives you access to the counter store
The count is reactive — changes reflect in the UI
Clicking buttons calls actions to change state
You just built your first centralized state system.
When Should You Use Pinia?
Use Pinia when:
You have multiple components needing the same data
You want to organize logic cleanly
You’re building a real app with features like auth, cart, or settings
You need better control over state changes
Final Thoughts
State management may sound complex, but Pinia makes it easy, clean, and powerful. It keeps your app maintainable as it grows and helps you avoid messy data passing.
Once you’re comfortable, try adding:
Getters (computed values based on state)
User store for login/logout
Cart store for e-commerce
Persistence using localStorage or plugins
Note: Complete code can be retrieved here https://github.com/novrian6/vue-my-pinia-app/tree/master