How to: Debugging in Vue.js (on VSCode)***

Debugging is a very important skill for any developer. Whether you’re building a simple Vue counter or a full-featured web application, being able to pinpoint and fix bugs efficiently will save your time and headaches.
In this article, we’ll run through how to debug a Vue.js app using Visual Studio Code, with practical steps, a working example, and tips using browser tools and Vue Devtools.
First, What Is Debugging?
Debugging is the process of locating, understanding, and fixing bugs, errors or unexpected behaviors in your code. These can be:
Syntax errors: Typing mistakes or invalid JavaScript
Logic errors: Code runs but does the wrong thing
Runtime errors: Code breaks during execution
Vue.js along with VSCode makes it easier to debug thanks to its reactivity, component system, and rich tooling support.
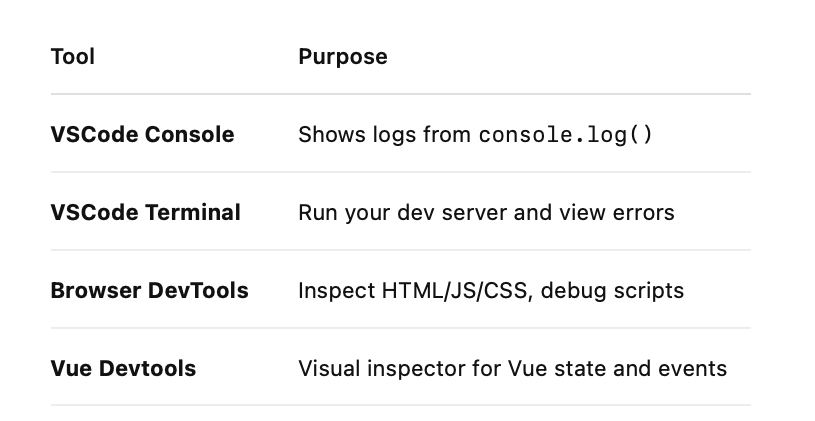
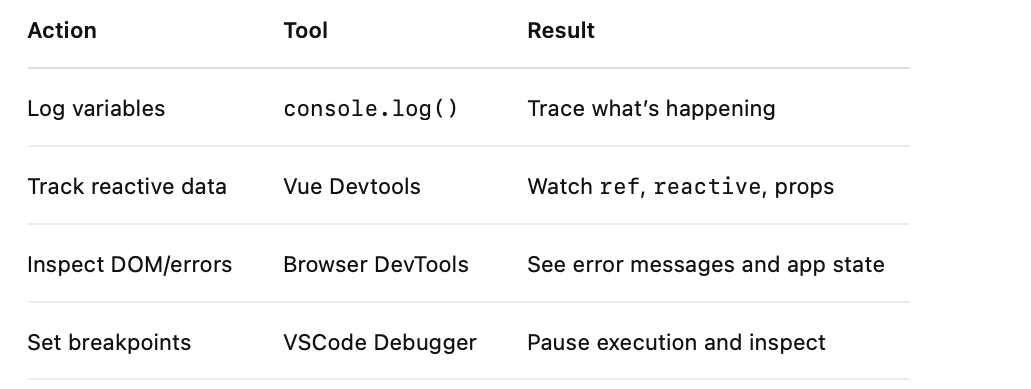
Tools You’ll Use
Since you’re using VSCode, here are the main tools for debugging:
Getting Started: Create the Project
Create a New Vue 3 App with Vite
Open your VSCode terminal:
npm create vite@latest vue-debug-demo -- --template vue
cd vue-debug-demo
npm install
npm run dev
Then open the project folder in VSCode:
File → Open Folder → Select vue-debug-demoApp.vue Code(src/App.vue)
<template>
  <div id="app">
    <h1>Vue Debugging Demo</h1>
    <Counter />
  </div>
</template>
<script setup>
import Counter from './components/Counter.vue'
</script>
<style>
#app {
  font-family: Avenir, Helvetica, Arial, sans-serif;
  text-align: center;
  margin-top: 40px;
}
</style>
Sample Code With a Bug (src/components/Counter.vue)
<template>
  <div>
    <h2>Counter: {{ count }}</h2>
    <button @click="increment">Increment</button>
    <button @click="decrement">Decrement</button>
    <p v-if="count < 0">Warning: Count is negative!</p>
  </div>
</template>

<script setup>
import { ref } from 'vue'

const count = ref(0)

function increment() {
  count.value++
}

function decrement() {
  console.log("Before:", count.value)
  count.value =- 1  // Bug: this sets the value to -1 instead of subtracting 1
  console.log("After:", count.value)
}
</script>
If you click Decrement, the counter always jumps to -1. Why?
Debugging the Issue in VSCode
Open the browser console (right-click → Inspect → Console).
See the logs printed:
Before: 2
After: -1
You realize the bug is here: count.value =- 1 (which means set to negative one), instead of subtracting.
1.Run the App
In VSCode terminal:
npm run devOpen the app in the browser. Click Increment, then Decrement. The count always becomes -1. Why?
2.Add Logs to Inspect the State
Edit the decrement() function:
function decrement() {
  console.log("Before:", count.value)
  count.value =- 1
  console.log("After:", count.value)
}
In the browser console, you’ll see:
Before: 2
After: -1
This tells you the value isn’t decreasing — it’s being set to -1.
Fixing the Bug
Update the line to use the correct operator:
count.value -= 1Now when you decrement, the counter reduces properly.
More Debugging Tips in VSCode
Console Logs in VSCode
Check browser logs in the Developer Tools (Right-click → Inspect → Console)
Add console.log() to inspect props, data, or function results
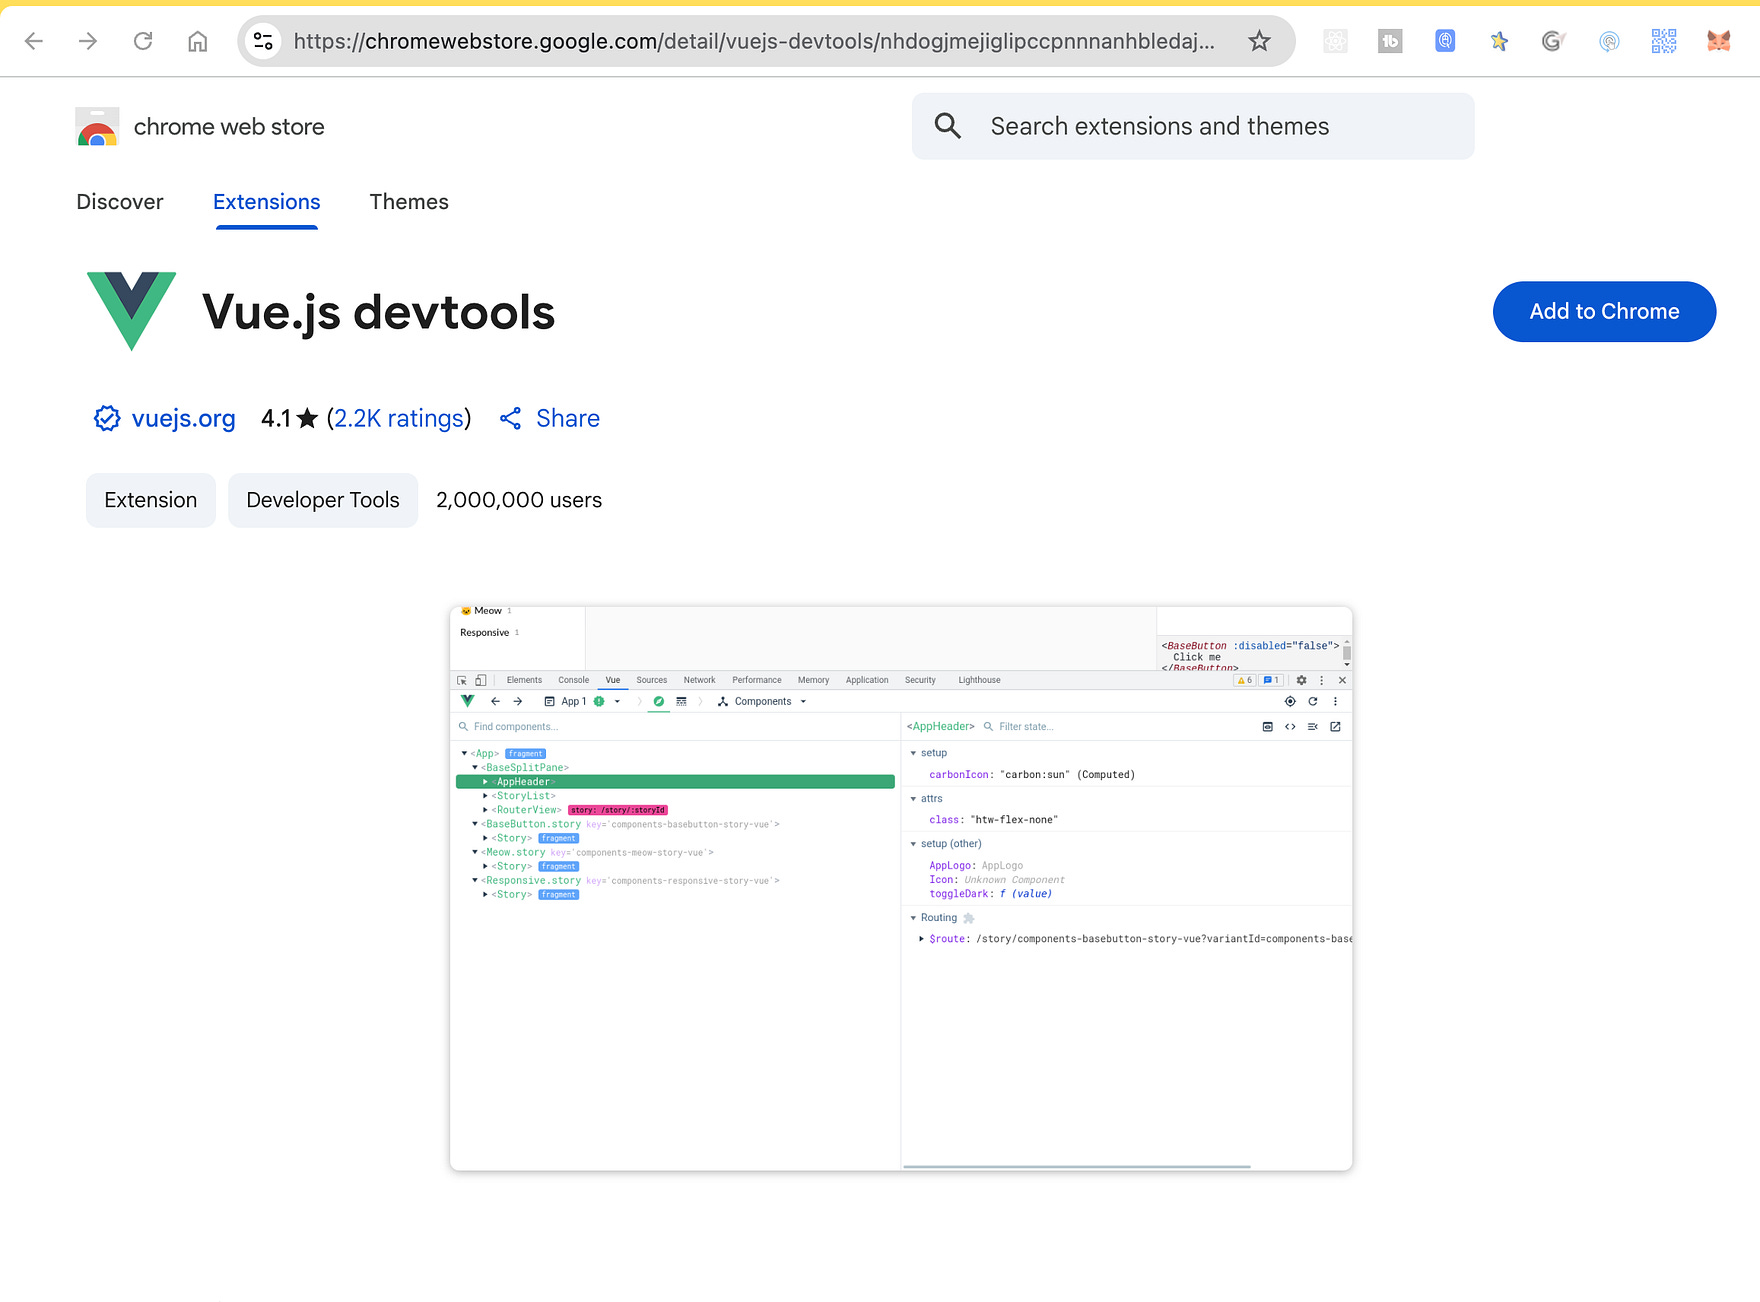
2. Install Vue Devtools
Chrome/Firefox extension: Vue Devtools
Shows live component data, props, emits, and state changes
VS Code Configuration
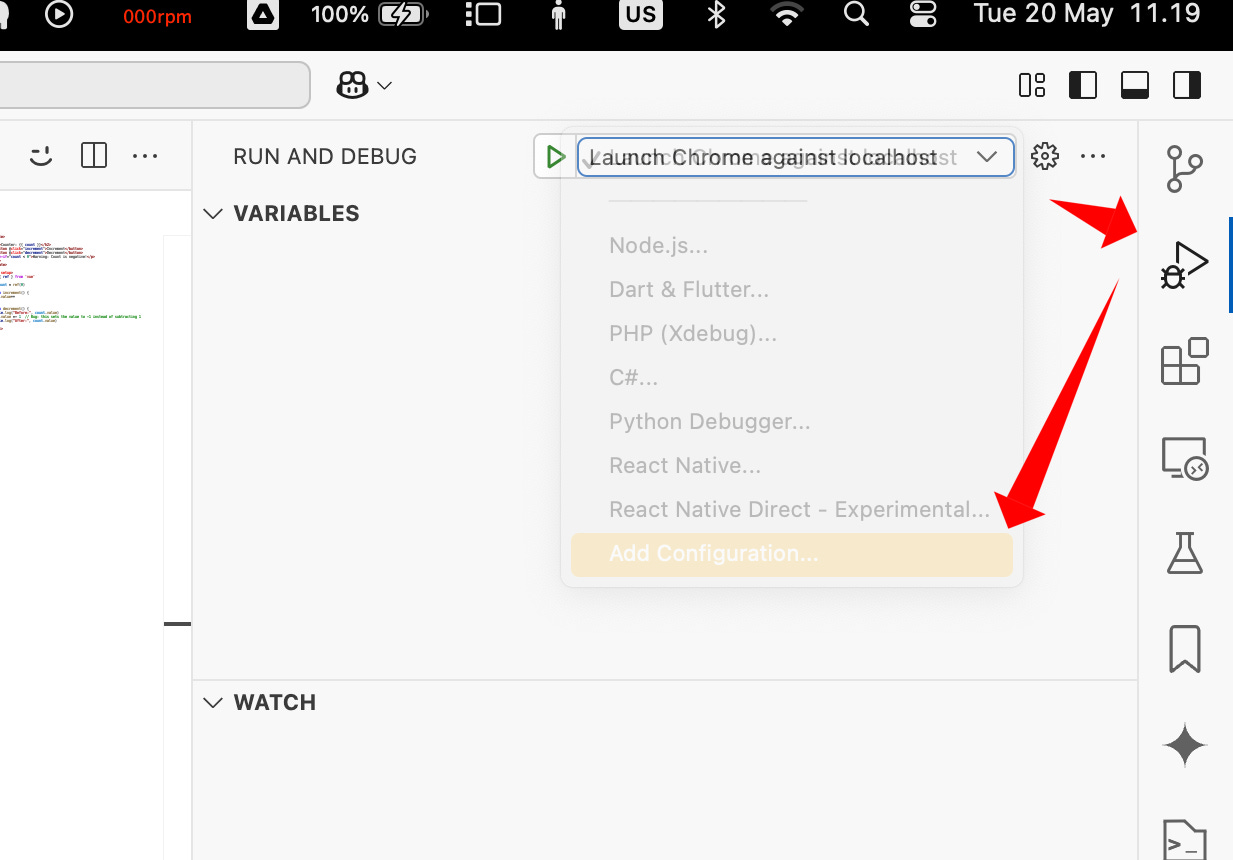
.vscode/launch.json
Paste this configuration:
{
  "version": "0.2.0",
  "configurations": [
    {
      "name": "Vue Chrome Debug",
      "type": "chrome",
      "request": "launch",
      "url": "http://localhost:5173", //you may adjust this port number to the port of your running vue application
      "webRoot": "${workspaceFolder}/src",
      "breakOnLoad": true,
      "sourceMaps": true
    }
  ]
}
Run the vue from command
npm run devNow Launch again debug.
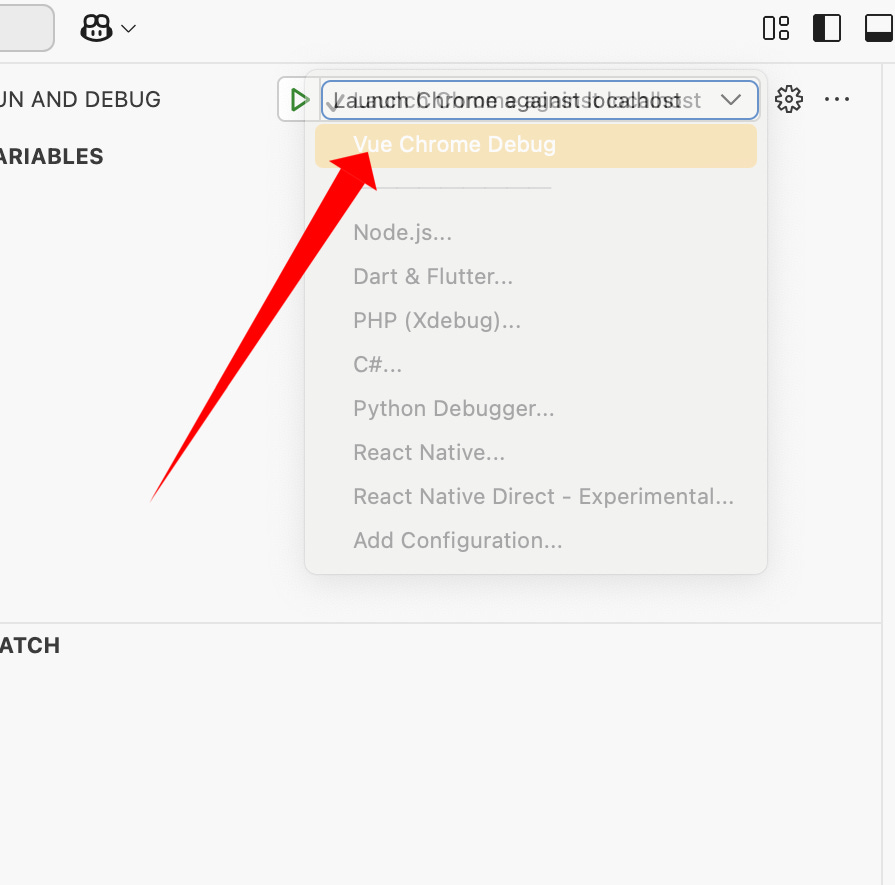
3. Set Breakpoints
Add breakpoints to pause code execution and inspect state
Press F5 in VSCode

Project Structure
vue-debug-demo/
├── index.html
├── src/
│   ├── App.vue
│   ├── main.js
│   └── components/
│       └── Counter.vue
In Summary..
Debugging is all about observation and testing. With tools like VSCode and Vue Devtools, you can catch most bugs early and understand how your app behaves under the hood.